How do I create a map?
Reference maps provide essential guidance for the system, enabling it to accurately display target locations during operation. These maps serve as a visual aid, assisting operators in aligning the planting process with predefined targets, ensuring precision and efficiency in the field.
You can create maps in two ways:
First, you will learn how to import a file.
Creating a map from a file
1. To create a map from a file, in the main menu, select Files.
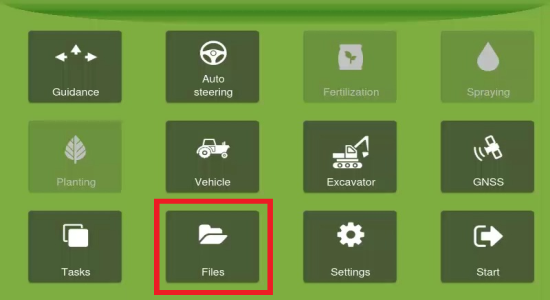
2. Next, to transfer from a pen drive to your display, select the import from USB option as shown below:

3. Now, for the type of data to be transferred, select Markers.
![]()
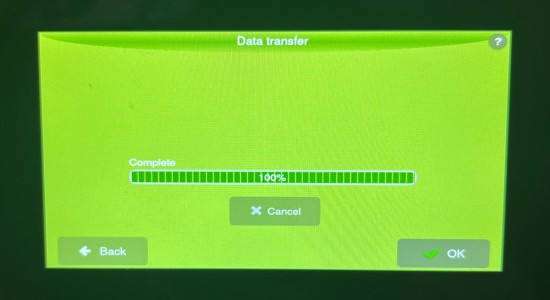
4. With a flash drive inserted into the display, choose the files you want to import and press OK to confirm.
_550x300.jpeg)
5. When the transfer is finished, press OK.
You have completed the process of importing a map! Next, you will learn the alternative option of autogenerating a map.
Autogenerating a map
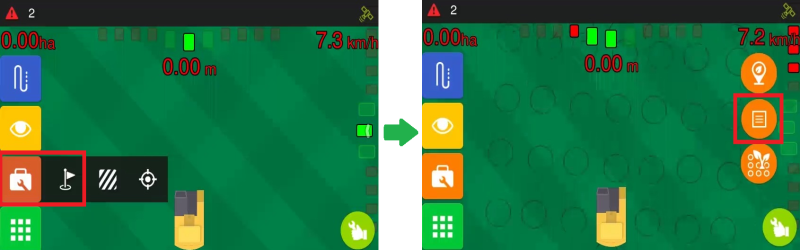
To create a map, on the operation screen, with the Markers menu open, a second option will be visible on the right side of the screen.
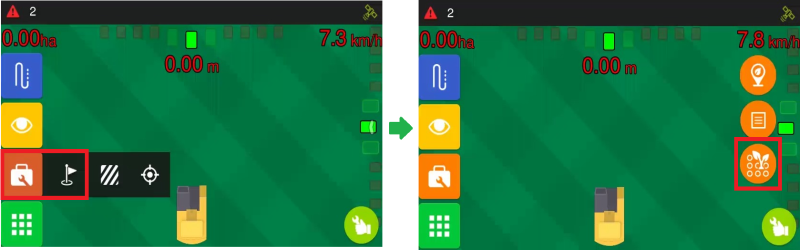
Ensure the planting head is positioned over a target, with the excavator arm aligned in the direction of a planting line. Then, click the button highlighted above. The system will generate reference points and lines extending from the planting head in the direction of the excavator arm, creating a new map.
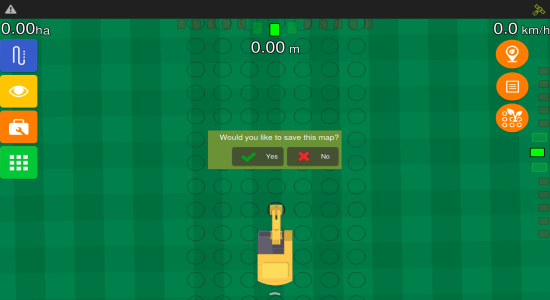
If you would like to save the map, select Yes.
How can I view all available maps?
1. At the operation screen, with the Markers menu open, select the Maps option in the right-hand side, as shown below:
2. It will open, list with all available reference maps.
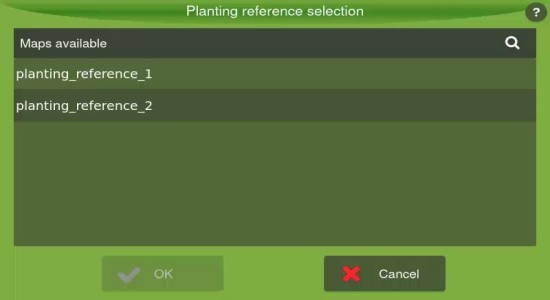
3. Select a map and press OK for it to be loaded into the operation screen.